

Should you discover the world of Wuthering Waves, you’ll ultimately discover some mysteries which may appear unsolvable. Effectively, time to deal with one in all them. Right here is the right way to discover and use the 2 Information Crystals in Wuthering Waves.
Wuthering Waves: Learn how to discover and use Information Crystals
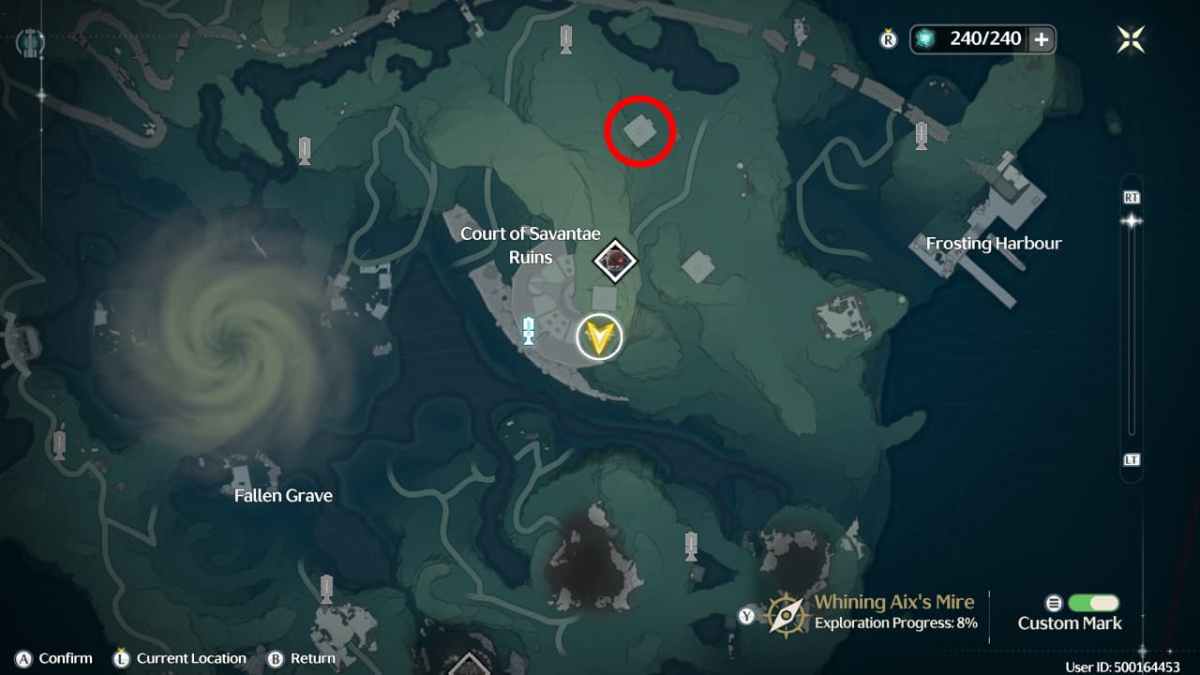
Information Crystals aren’t a standard useful resource or materials you discover in Wuthering Waves however two particular crystals you gather within the Court docket of Savantae Ruins area of the map – simply subsequent to the Mech Abomination boss battle location. You could find it within the southmost area of the map, so hold going south from Jinzhou if you happen to haven’t visited this space of the map.
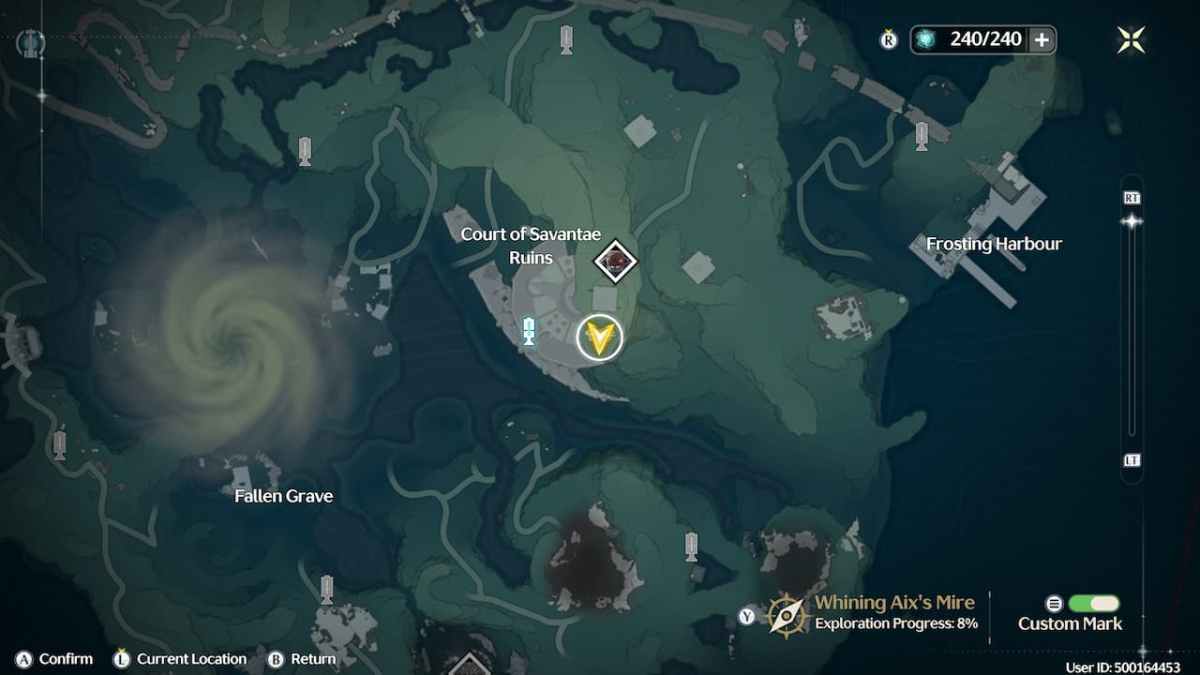
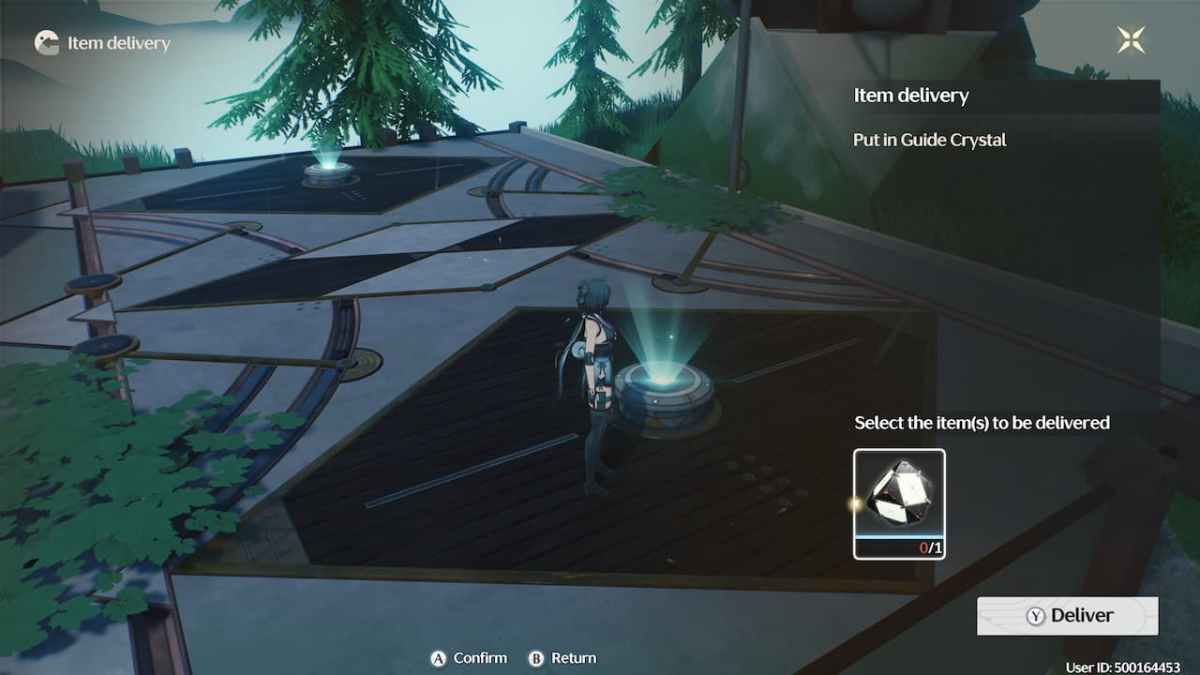
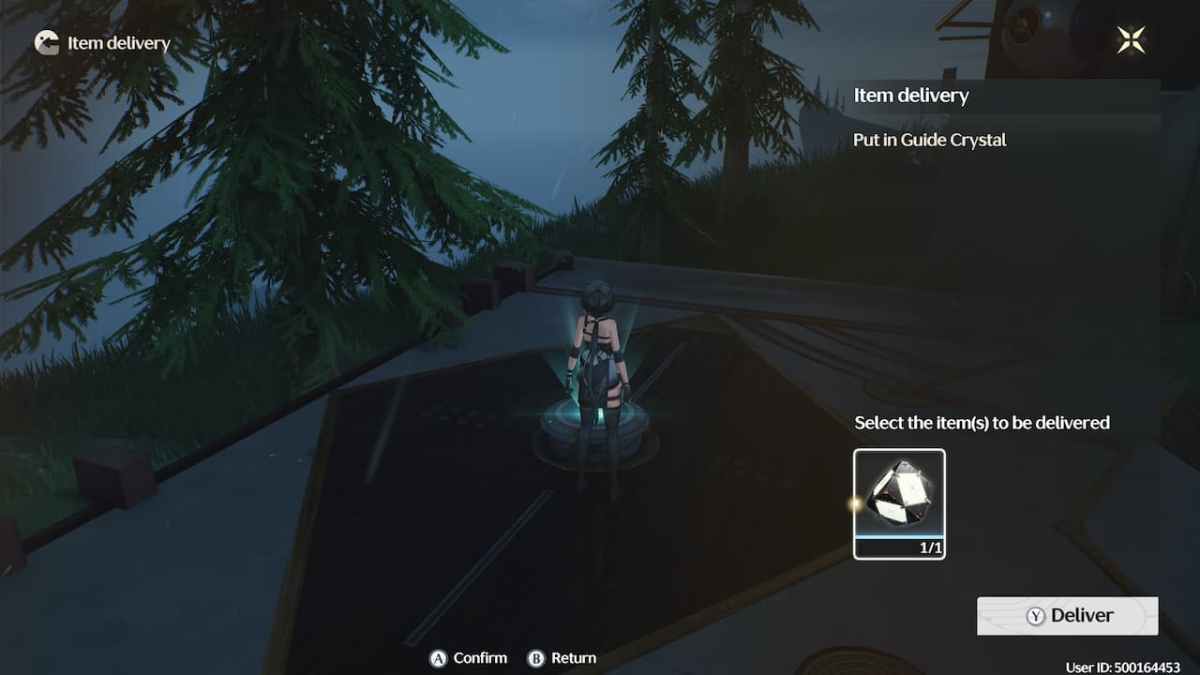
Within the location on prime, you’ll discover two completely different Information Crystal recipients which you can work together with however you will be unable to do something till you gather these crystals. Fortunately, every of those is near this space, however you have to to full two completely different puzzles which may make your mind damage. Let’s check out them.
Information Crystal 1: Power Matrix Puzzle
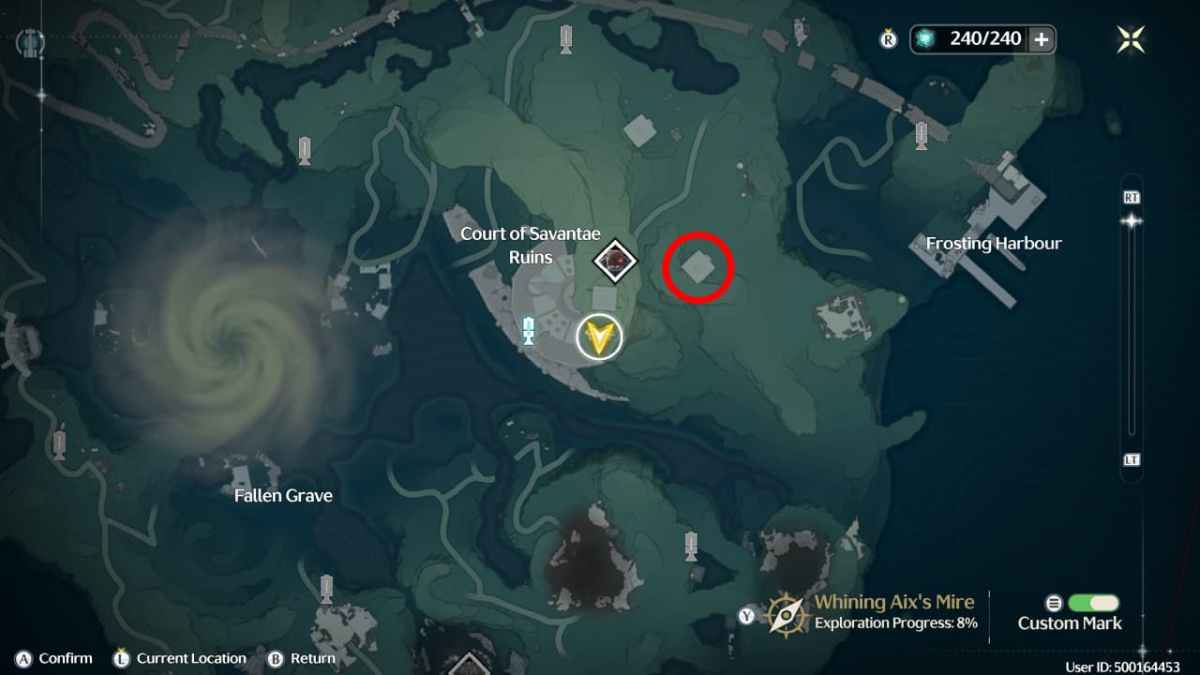
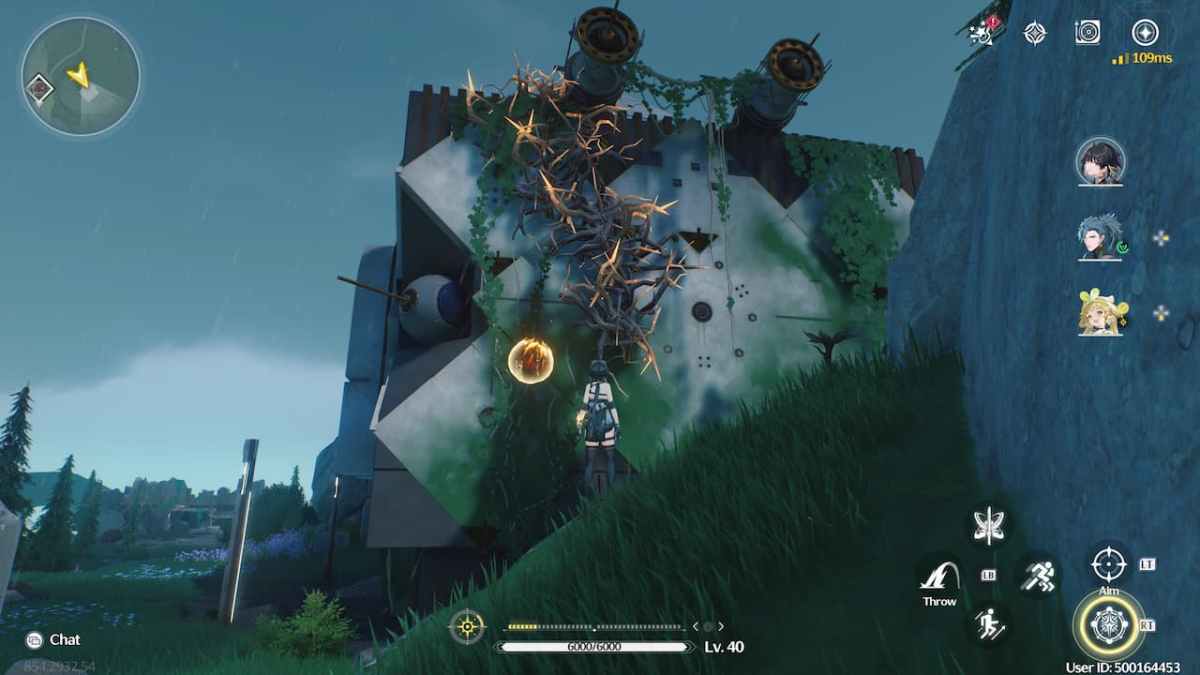
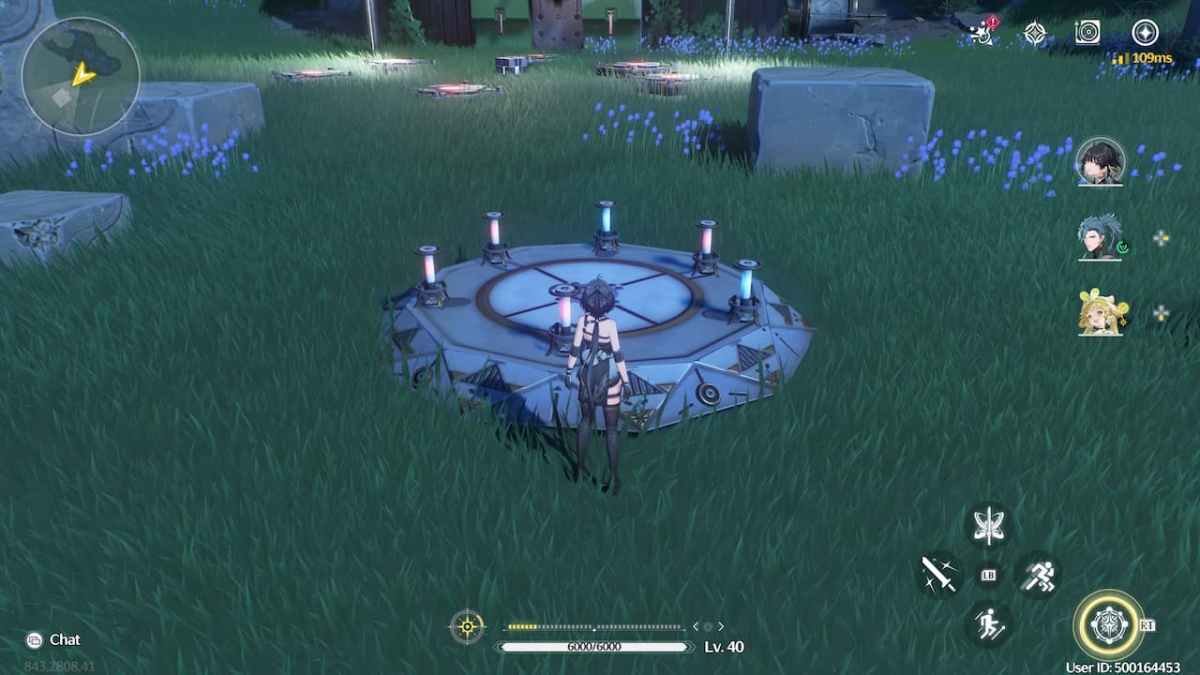
The very first Information Crystal we’re going to deal with is situated to the northeast of the Information Crystal recipient platform. The corresponding puzzle can be an Power Matrix Puzzle, which may be thought-about a Tetris-like puzzle the place you have to to make use of vitality items of varied shapes to activate the blue squares within the Matrix sample.
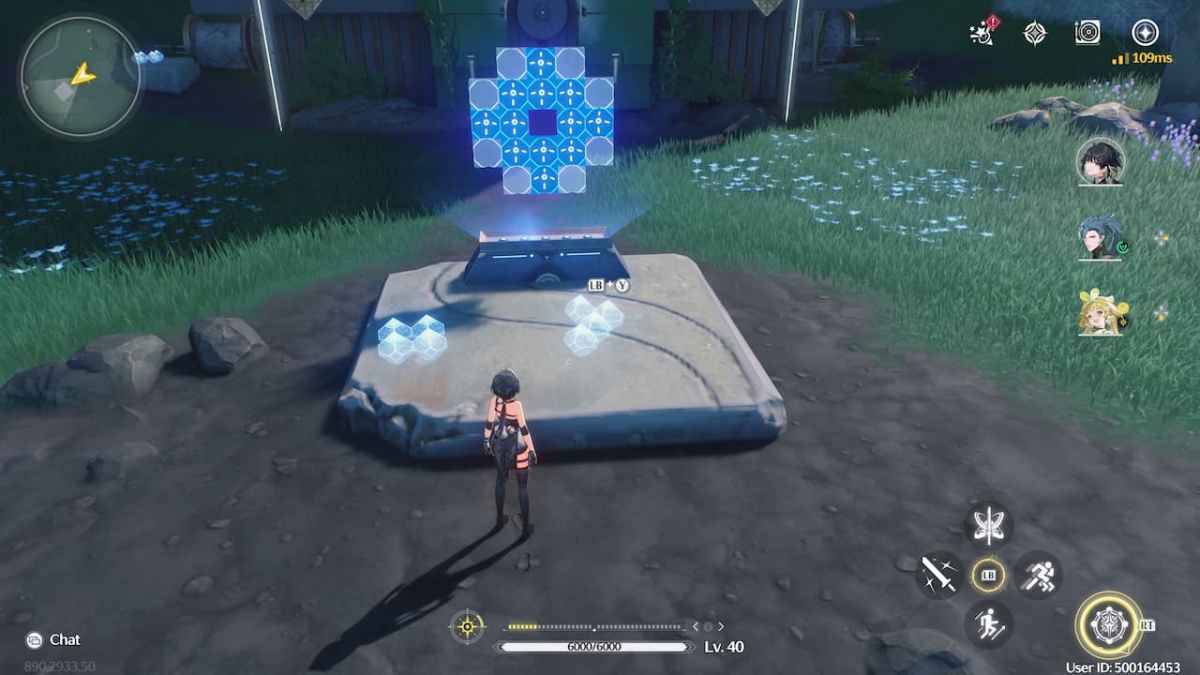
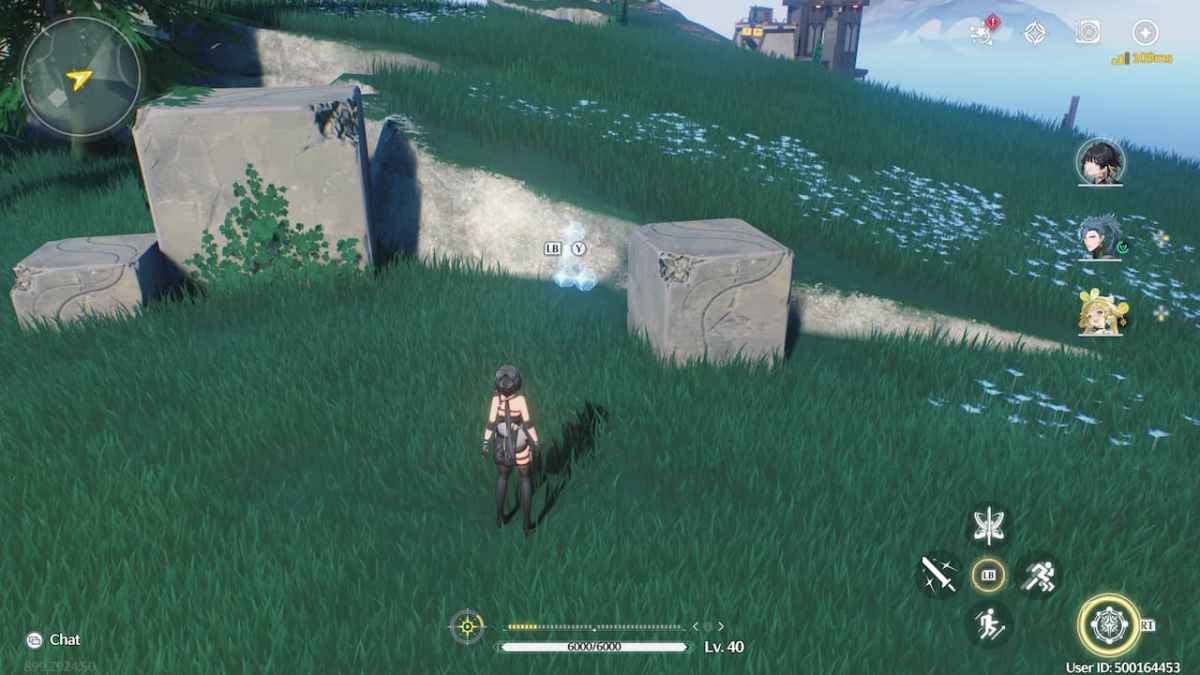
One of many puzzle items is locked behind some vines. On the reverse facet of its location, you’ll discover an Explosive Cost which you can shoot towards the vines utilizing your Levitator.
Return to the now accessible puzzle piece – which is a Z-shaped one – after which use your Levitator as soon as once more to throw it on the prime proper nook of the Matrix as proven beneath.
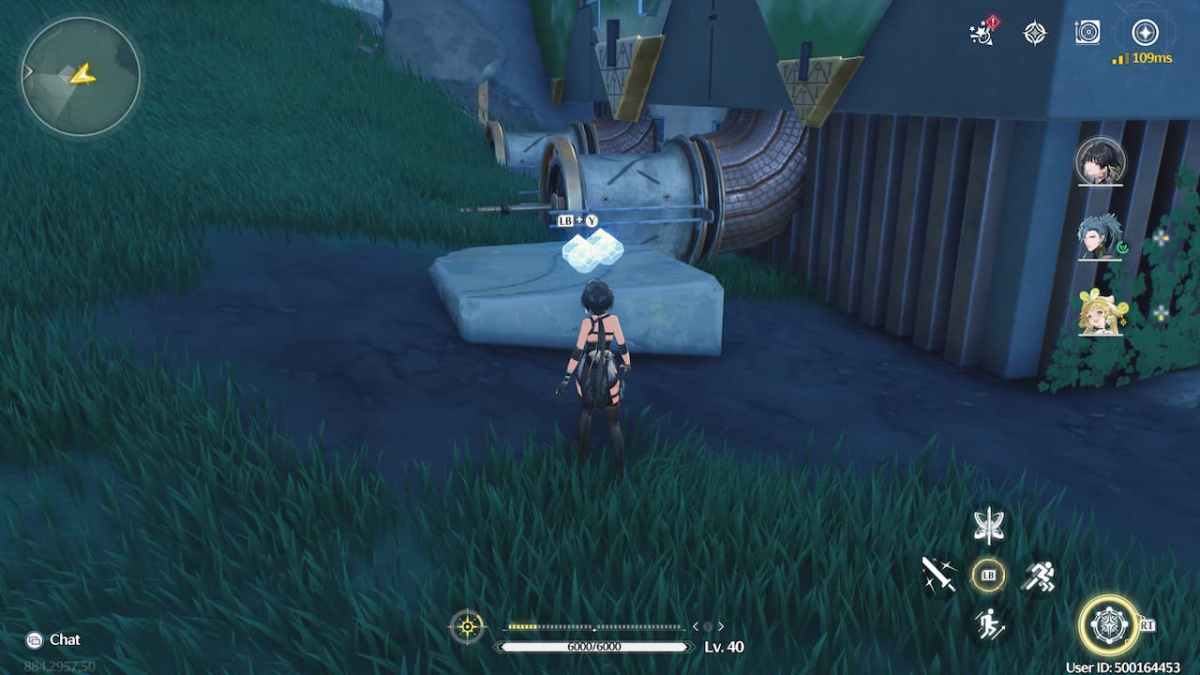
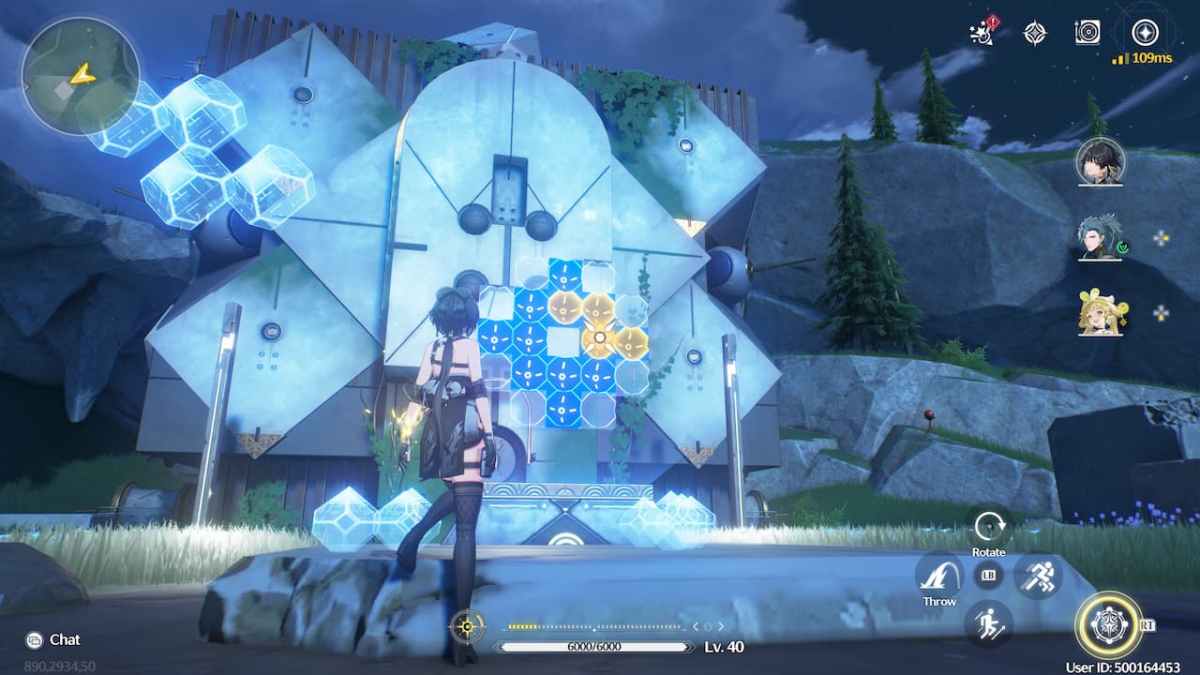
Let’s deal with the 2 items which are mendacity on the platform. Take the L-shaped one and throw it towards the underside a part of the Matrix. Keep in mind that solely the blue slots depend towards the puzzle’s completion, however you’ll be able to fill out the white slots in case your piece’s form and place enable it.
Take the sq. piece and throw it to the underside proper nook of the Matrix.
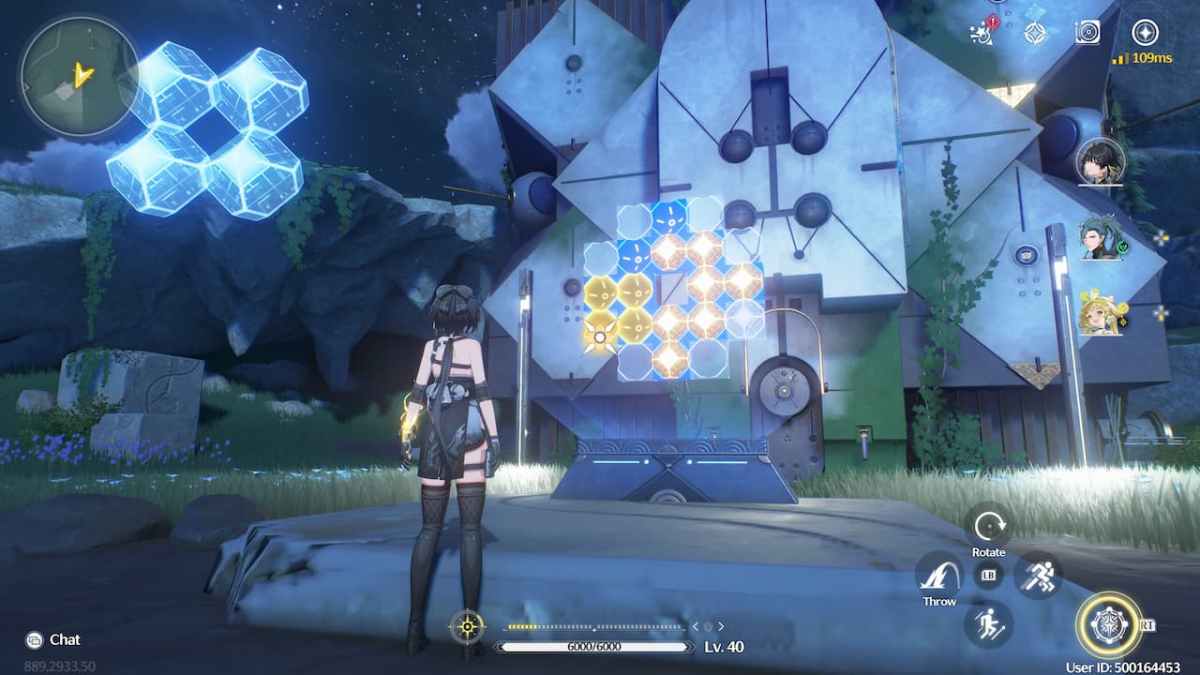
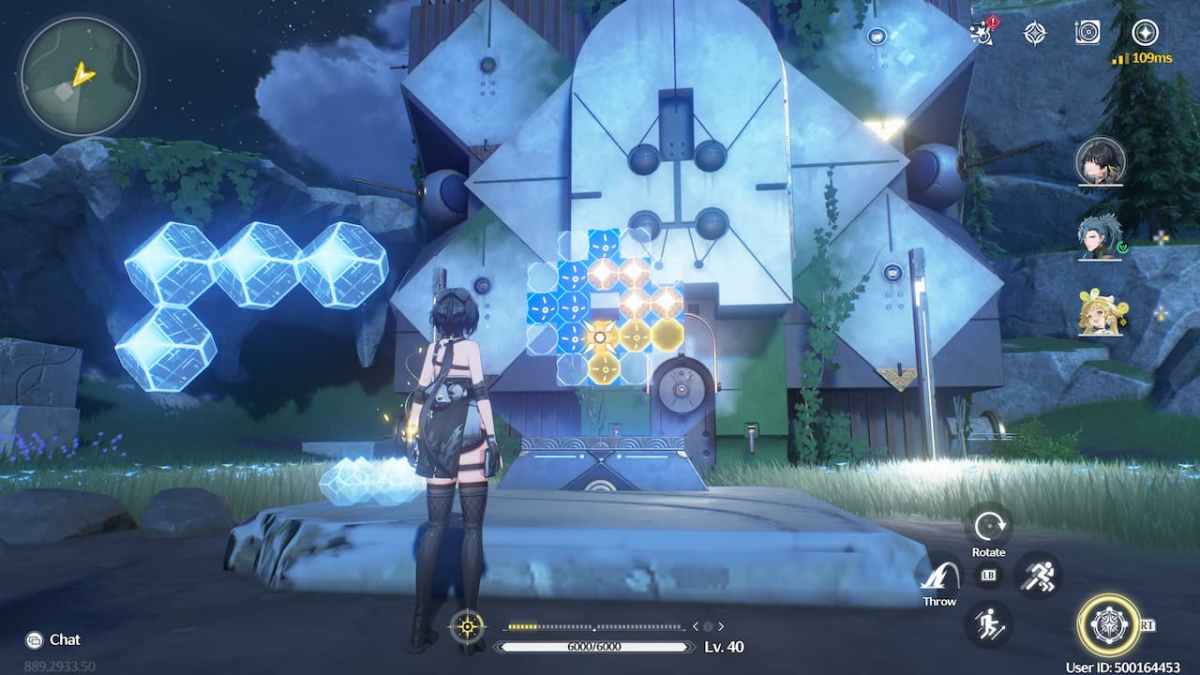
Lastly, the final piece is an L-shaped one and must be proper behind you subsequent to a stone block. Shoot it on the prime a part of the Matrix as proven beneath.
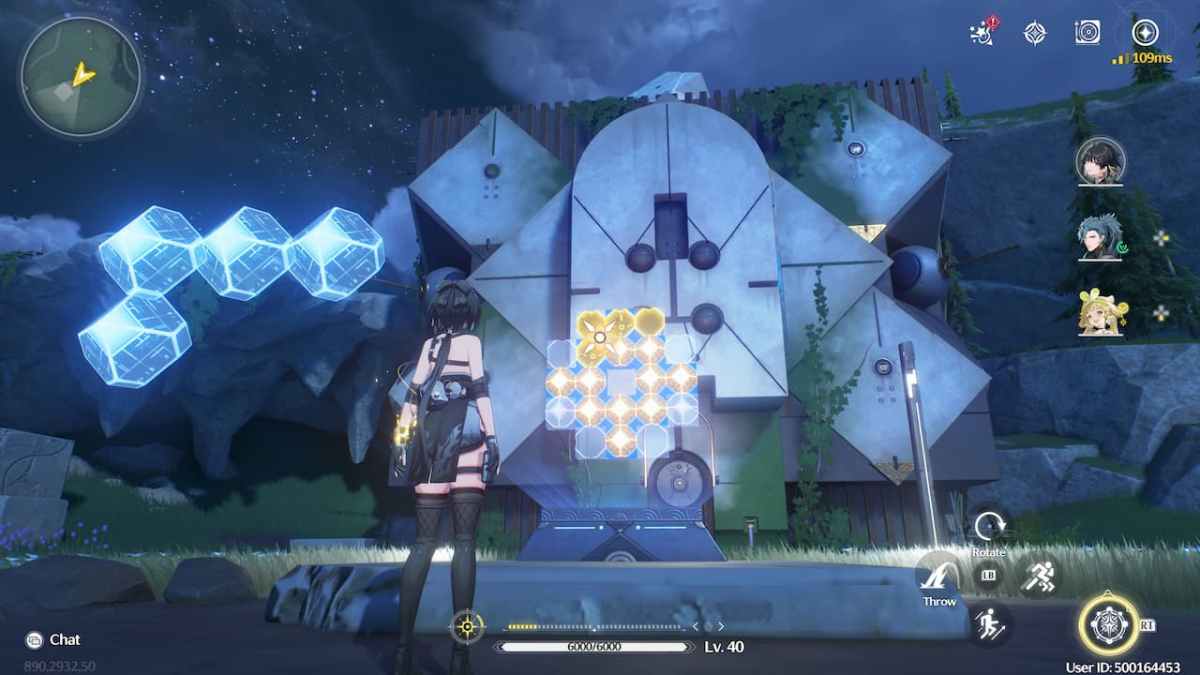
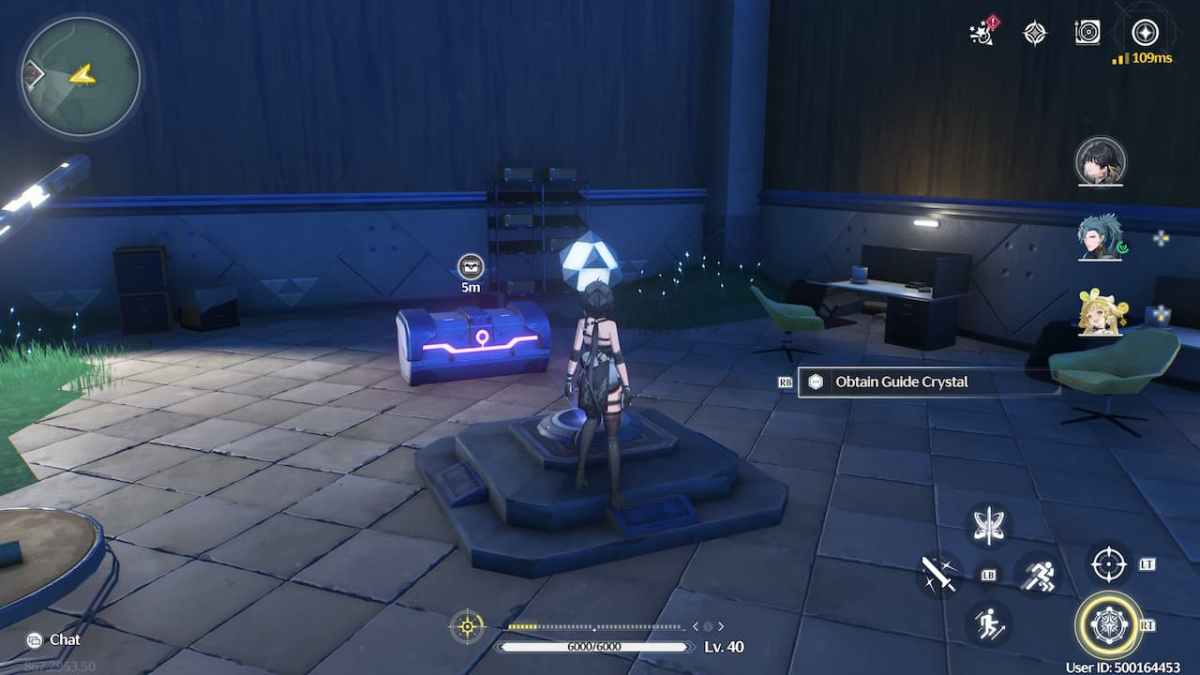
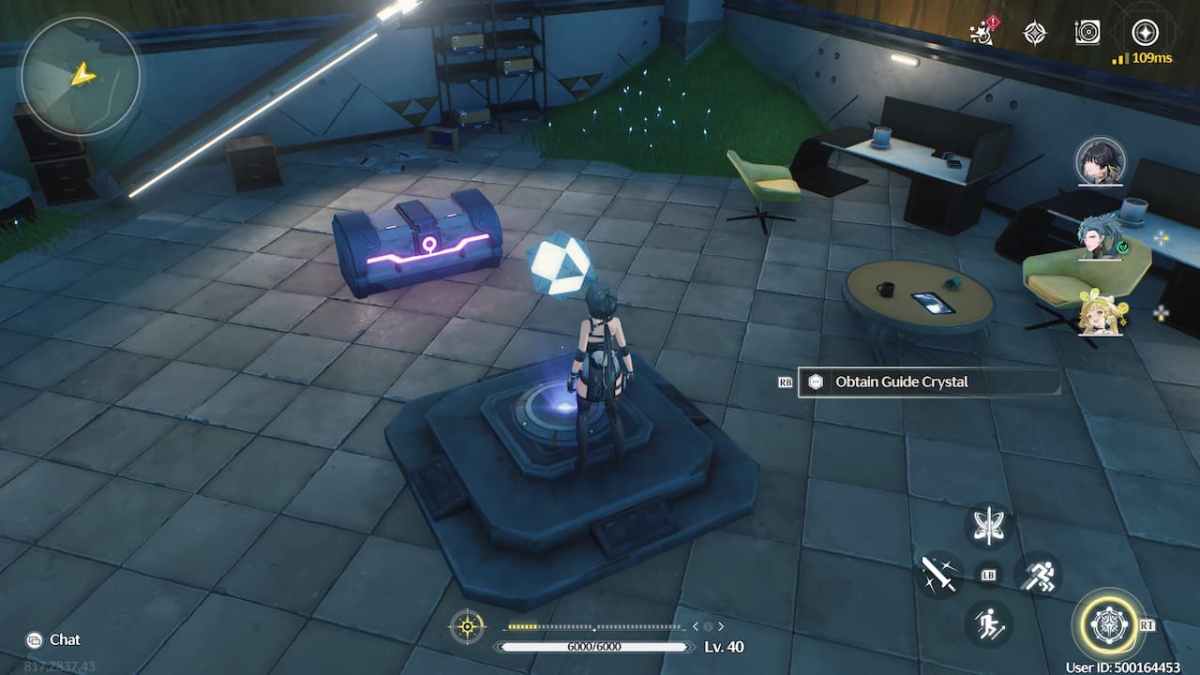
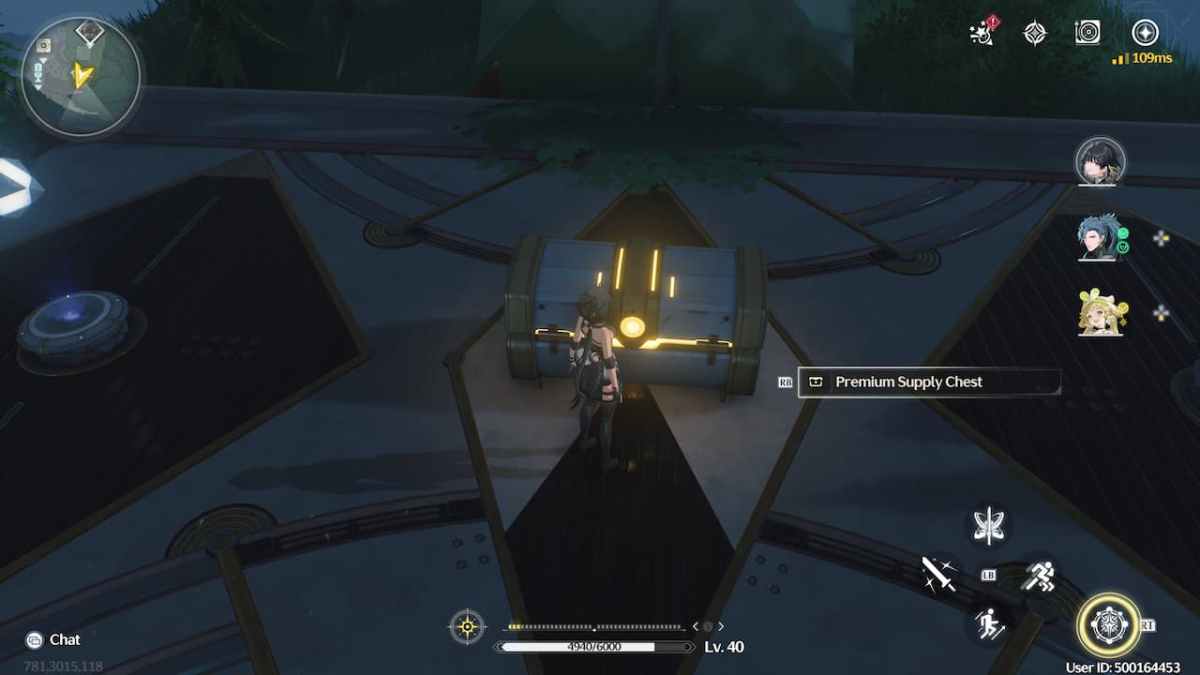
The door of the constructing in entrance of you’ll open up and there you’ll discover the primary Information Crystal together with an Superior Provide Chest. Acquire the primary, open the second, and head out for the opposite Information Crystal Puzzle.
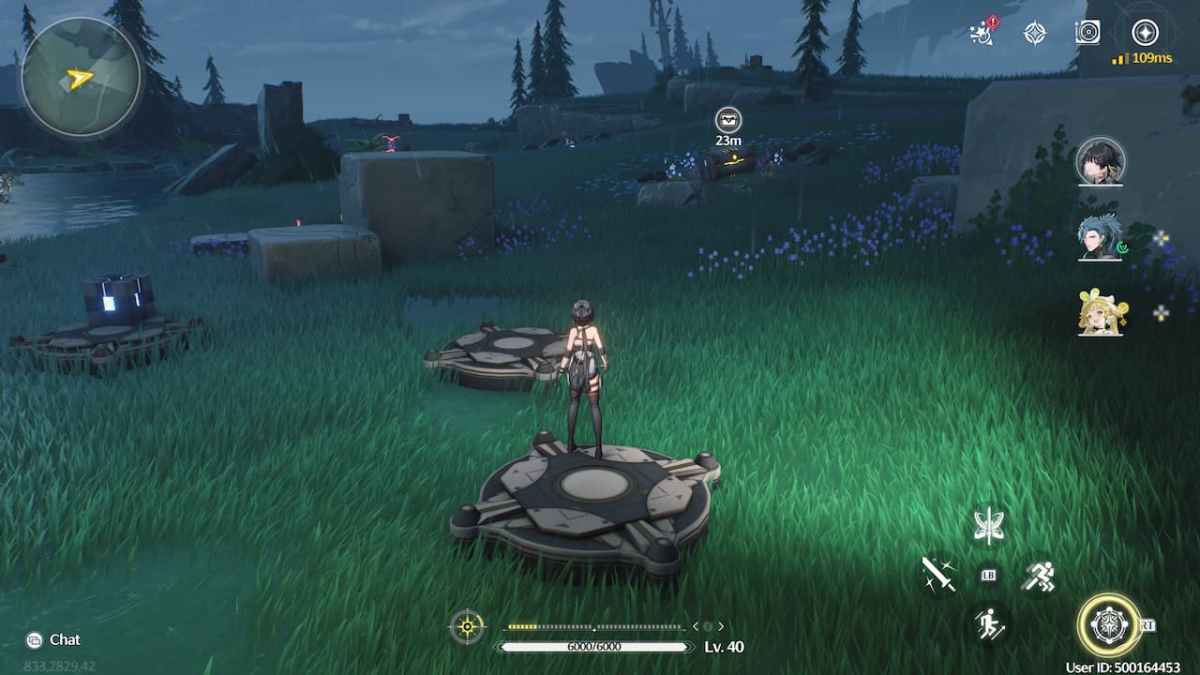
Information Crystal 2: Strain Pads Puzzle
The following puzzle and Information Crystal is situated north of the preliminary Information Crystal platform. By the way in which, you’ll in all probability discover some exile foes and TD enemies on this space, so battle them if they’re particularly annoying.
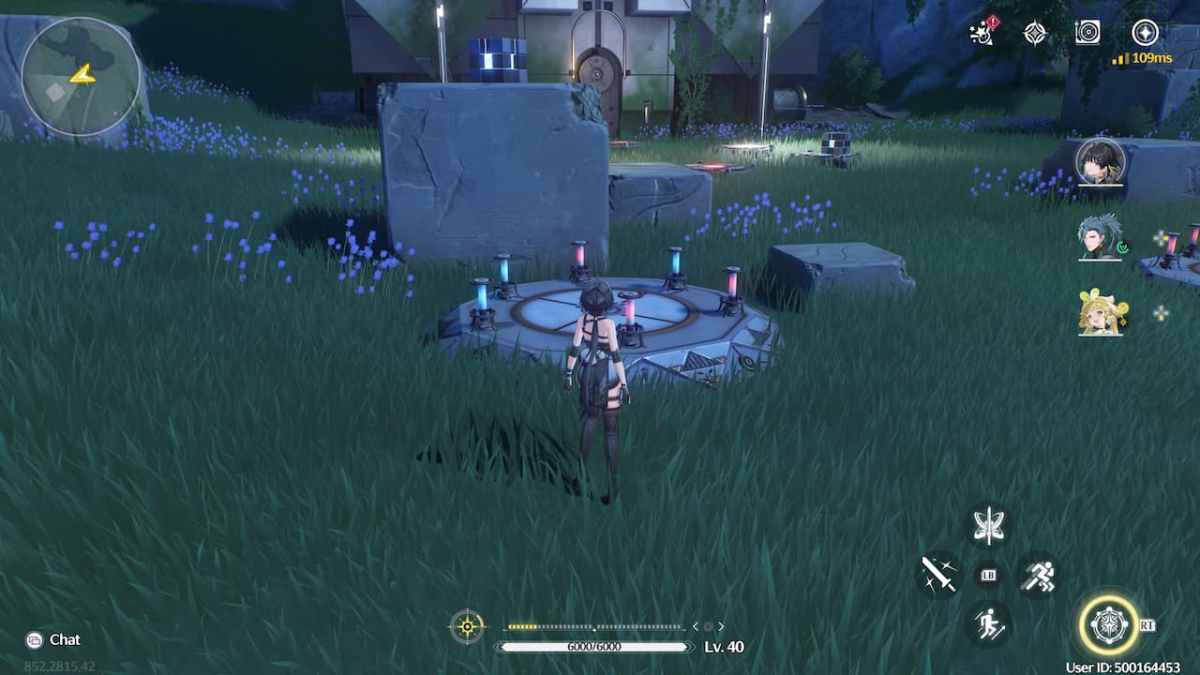
It is a strain pad puzzle that has a number of phases. The primary one can be represented by the sample you see beneath. The blue tubes point out strain pads which are activated, with the pink ones being those that aren’t – thanks, Captain Apparent.
Replicate the primary sample by putting the one dice in both the backside proper or north strain pad after which stand on prime of the opposite. You gained’t must hold standing there, so don’t fear about stepping out. You’ll unlock a further block once you full the primary sample.

The second options three completely different blue tubes. Use the 2 blocks to activate the highest left, prime proper, or backside left strain pads and stand on the one which’s left.
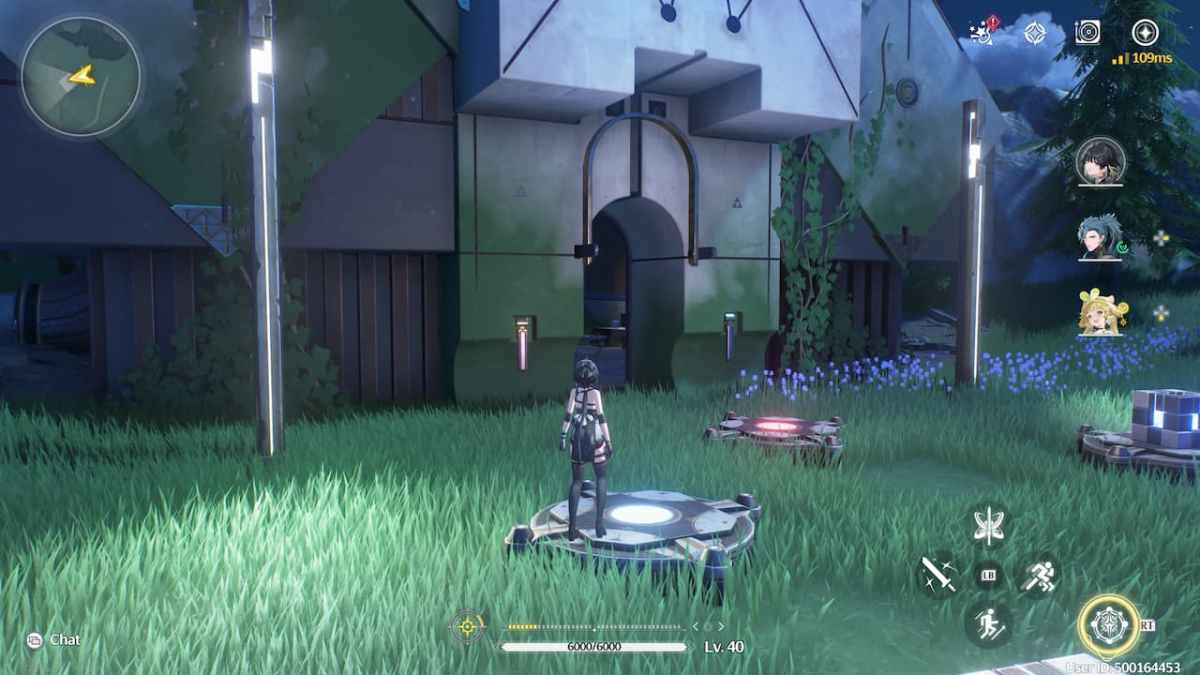
This may, once more, open up the way in which to the constructing forward which will lead you to the opposite Information Crystal and one other Superior Provide Chest.
Bonus Premium Provide Chest
You may head to the Information Crystal straight away, however there may be one other secret right here. You’ll discover one other sample to the left of the opposite ones, however this one is represented by flowers.
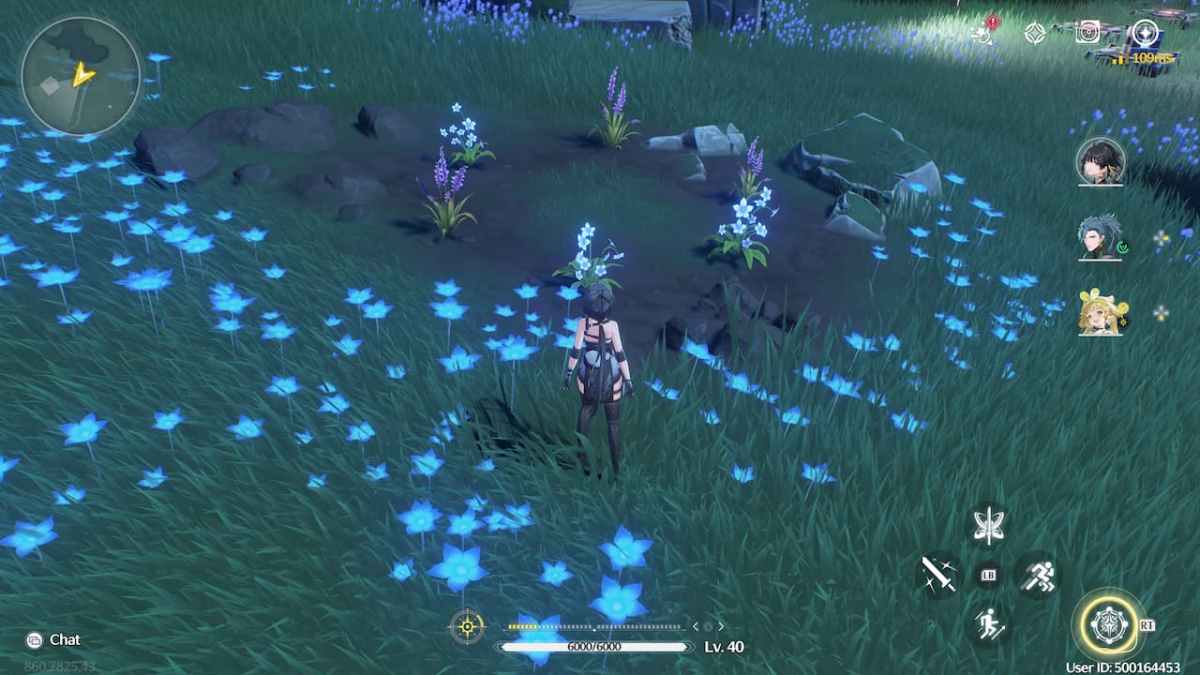
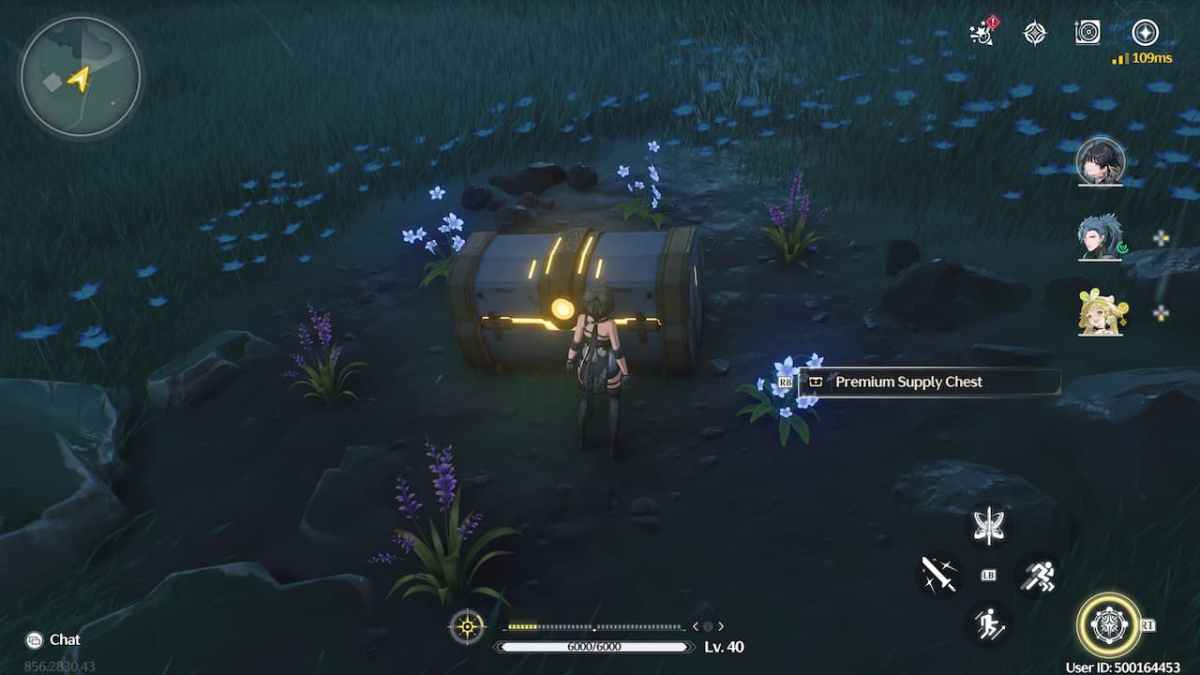
Use your two blocks to activate the strain pads on the backside, backside left, or prime proper and stand on prime of the remaining pad and you’ll spawn a Premium Provide Chest full of uncommon supplies and a good quantity of Shell Credit.
Head again to the Information Crystal platform and work together with every Information Crystal recipient to ship every of the Information Crystals you have got collected. When you do, one other Premium Provide Chest will seem so that you can open.
And that’s it for this Information Crystal thriller! You should utilize the rewards you collect to degree up your Resonators with the intention to battle extra TD enemies and full challenges that may solely get tougher the upper your Union Stage and SOL3 Part are. Use the credit correctly and be ready to face the strongest of world bosses or Tacet Subject challenges.